

Crispy Lemon Pepper Air Fryer Chicken Bites are a game-day staple, gourmet appetizer, or family-friendly snack. Using air frying, we achieve a golden crust and tender interior, all with minimal oil and maximum flavor. The lemon pepper seasoning delivers a tangy, peppery brightness that balances the chicken’s natural richness without masking its texture.
Recipe Overview
| Prep Time | 10 minutes |
| Cook Time | 12 minutes |
| Total Time | 22 minutes |
| Servings | 4 |
| Difficulty | Easy |
| Cuisine | American |
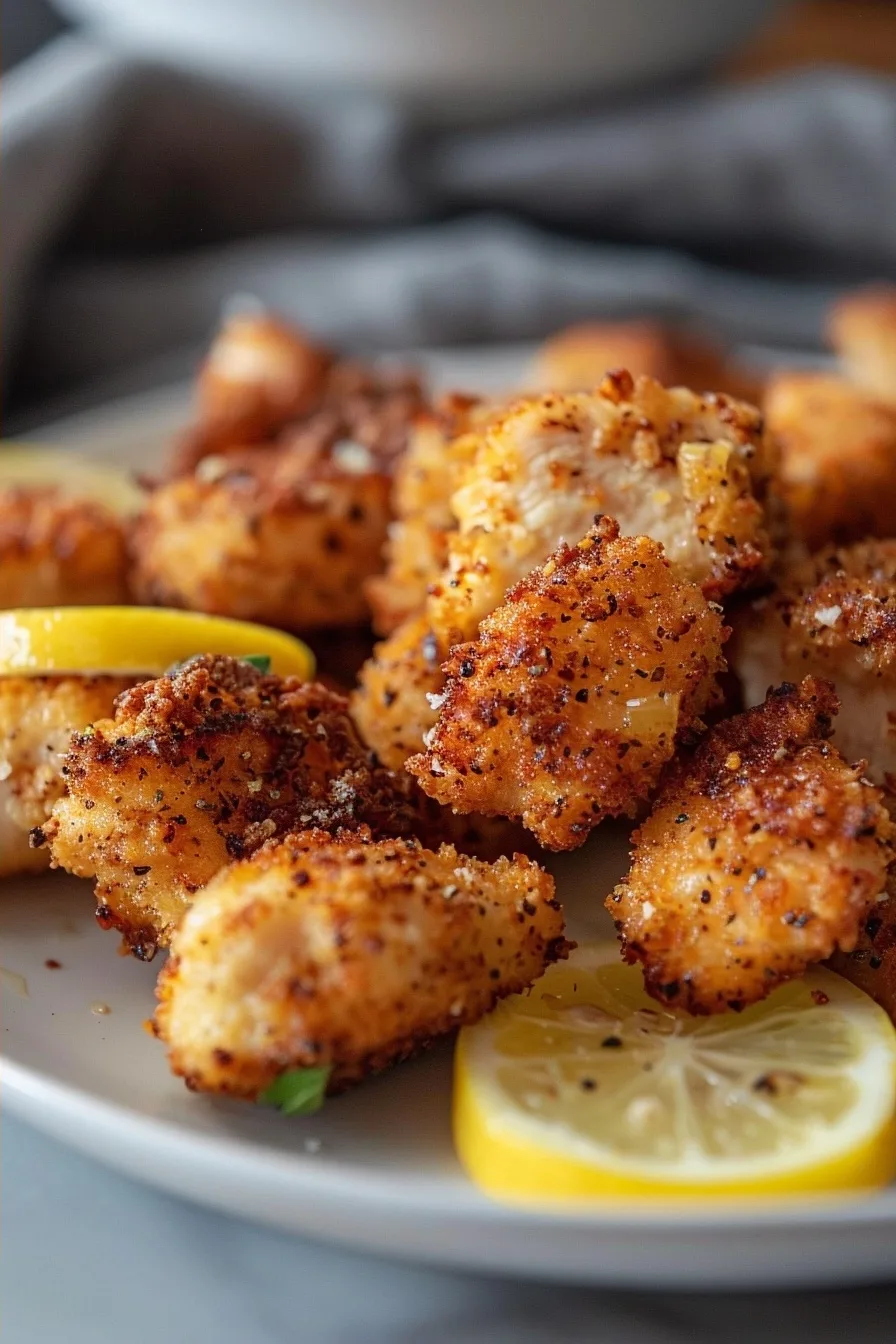
Why This Recipe Works
The key to perfection lies in two factors: temperature control and moisture management. Air frying at 400°F (200°C) triggers the Maillard reaction rapidly, creating that signature golden crust while locking in juices. Olive oil’s high smoke point ensures even browning without burning delicate lemon pepper seasoning (USDA Food Safety Guidelines, fsis.usda.gov).
Lemon zest in the seasoning adds volatile oils that caramelize during cooking, enhancing aroma without added sugar. Garlic powder, when distributed across the chicken, diffuses flavor evenly—a critical step in bite-sized formats where surface area matters.
The 10-minute cooking window is scientifically optimal: chicken breast reaches safe doneness at 165°F (74°C) without overcooking, maintaining tenderness. The final 2 minutes of cooking after shaking redistribute heat for uniform texture (Cornell Food Science Notes).
Ingredients
| Chicken Breasts | 1 lb (450g), cubed into 1-inch pieces |
| Olive Oil | 1 tbsp (15ml) (or avocado oil for higher heat stability) |
| Lemon Pepper Seasoning | 1 tbsp (5g) (store-bought or homemade with lemon zest, black pepper, and sea salt) |
| Garlic Powder | 1/2 tsp (2g) (avoid fresh garlic to maintain coating uniformity) |
Step-by-Step Instructions
Prep
- Cube chicken into uniform 1-inch pieces for even cooking
- In bowl, whisk olive oil, lemon pepper, and garlic powder
- Submerge chicken in mixture, using gloves to ensure full coverage
Cooking Phase
- Preheat air fryer to 400°F (200°C) for 3-5 minutes
- Arrange chicken in single layer in basket, avoiding overcrowding
- Cook for 6-7 minutes, then shake basket to flip pieces
Finishing Touch
- Continue cooking until internal temperature reaches 165°F (74°C)
- Rest for 3 minutes on wire rack to preserve crispiness
Chef Tips for Perfect Results
- Use a digital thermometer: Chicken bites cook faster than whole breasts
- Add 1 tsp cornstarch to coating for ultra-crisp exterior
- Freeze prepped chicken on baking sheet before cooking for batch-prepped meals
- For extra lemon pop, mix 1 tsp fresh lemon juice into coating
Common Mistakes to Avoid
- Overcrowding: Reduces hot air circulation, leading to steaming vs. crisping
- Burning spices: Add lemon pepper during tossing instead of pre-seasoning
- Under-shaking: Bottom layer gets overcooked while top remains raw
- Wrong oil: Flaxseed or walnut oil smoke points are too low for air frying
Variations and Substitutions
| Chicken | Turkey breast or rotisserie chicken | Milder flavor requires more seasoning |
| Oil | Cooking spray or melted butter substitute | Butter adds dairy richness |
Serving Suggestions and Pairings
- With spicy lemon aioli (yogurt + sriracha + lemon zest) for dipping
- Served over quinoa with roasted asparagus for a high-protein lunch
- Pair with tart cranberry juice or sparkling water with citrus zest
Storage and Reheating
| Room Temperature | 4 hours | In airtight container |
| Refrigerator | 3-5 days | Reheat at 375°F (190°C) for 3-4 minutes |
Nutritional Information
| Calories | 120 |
| Protein | 15g |
| Fat | 5g |
| Carbohydrates | 1g |
Frequently Asked Questions
Can I use frozen chicken?
Yes, but increase cooking time by 4-5 minutes. Never cook from completely frozen for food safety.
How to tell if they’re done?
Juices run clear and internal temperature reaches 165°F (74°C). Avoid relying solely on appearance.
Why are mine chewy?
Overcooking beyond 170°F (77°C) denatures proteins excessively. Use a meat thermometer.
Can I make them ahead?
Yes! Freeze raw coated chicken on parchment paper; cook from frozen with extra time.
How to store?
Cool completely, then freeze in single layer for best texture. Reheat as instructed.
Conclusion
Crispy Lemon Pepper Air Fryer Chicken Bites marry convenience with culinary precision. The crackling exterior gives way to juicy, zesty bites that shine whether served as appetizers or main dish additions. With just four ingredients and under 15 minutes, this method proves that great flavor doesn’t require complex techniques.
Crispy Lemon Pepper Air Fryer Chicken Bites

Crispy and flavorful chicken bites seasoned with zesty lemon pepper, tender inside and golden outside, made air-fried for a healthier twist. Perfect for game days, parties, or a quick snack.
- Prep Time: 10
- Cook Time: 12
- Total Time: 22
- Yield: 4 servings
- Category: Dinner
- Method: Air Frying
- Cuisine: American
- Diet: Non-Vegetarian
Ingredients
1 lb (450g) chicken breasts, cubed into 1-inch pieces
1 tbsp (15ml) olive oil (or avocado oil)
1 tbsp (5g) lemon pepper seasoning
1/2 tsp (2g) garlic powder
Instructions
Cube chicken breasts into 1-inch pieces for even cooking.
In a bowl, whisk together olive oil, lemon pepper seasoning, and garlic powder.
Using gloves, submerge the chicken pieces into the mixture and ensure they’re evenly coated.
Preheat your air fryer to 400°F (200°C) for 3-5 minutes.
Arrange the chicken in a single layer in the air fryer basket, ensuring not to overcrowd.
Cook for 6-7 minutes, then shake the basket to flip the chicken pieces.
Continue cooking until the internal temperature reaches 165°F (74°C), about another 6-7 minutes.
Once done, remove the chicken and let it rest for 3 minutes before serving.
Notes
For optimal browning, avoid overcrowding the air fryer basket.
Uniform chicken sizing ensures even cooking.
Garlic powder ensures a consistent flavor; fresh garlic may burn.
Shake the basket halfway through cooking for even heat distribution.